Bauhaus Things – Material Exercises
Module 4
School // Workshop // Age 12–15 // 2 hours // 3 lessons
Making // feeling // experimenting // exhibiting
Preliminary course // material // theory of form
can be combined with Modules 1 and 2
 Silke Wittig | CC BY-NC-SA 4.0
YOU WILL NEED:
For the folding and form exercises:
- paper and foil in different thicknesses and colours
- scissors
- rulers
- bone folders
- hole punch
- string
For the experiments with materials:
- paper in different thicknesses and textures
- leaves
- grasses
- pieces of wood
- wool
- fabric
- sponges etc.
- scissors
- glue sticks
- tape
INSTRUCTIONS
In this module participants learn about different materials – rather like in the Bauhaus preliminary course. Folding exercises using coloured paper of different thicknesses allow participants to explore the properties of paper, possible forms, and the stability created by folding. Further experiments follow with a range of different materials such as paper, wood, fabric, wool, metal, plastic, leaves and grasses. Can the materials be identified by touch? How can they be combined to create new objects?Students in the preliminary course at the Bauhaus developed spatial structures focussing on the relationships between material, construction, function and production. They were seeking to optimise production and minimise use of materials, energy and time. This module takes up the approach of those exercises, allowing participants to learn about the materials at a very basic level and to create their own little objects and works of art.
Step 1: Each participant chooses a piece of paper and begins by investigating its properties: What does the texture feel like? How stable is it? Can it be placed upright without falling over?
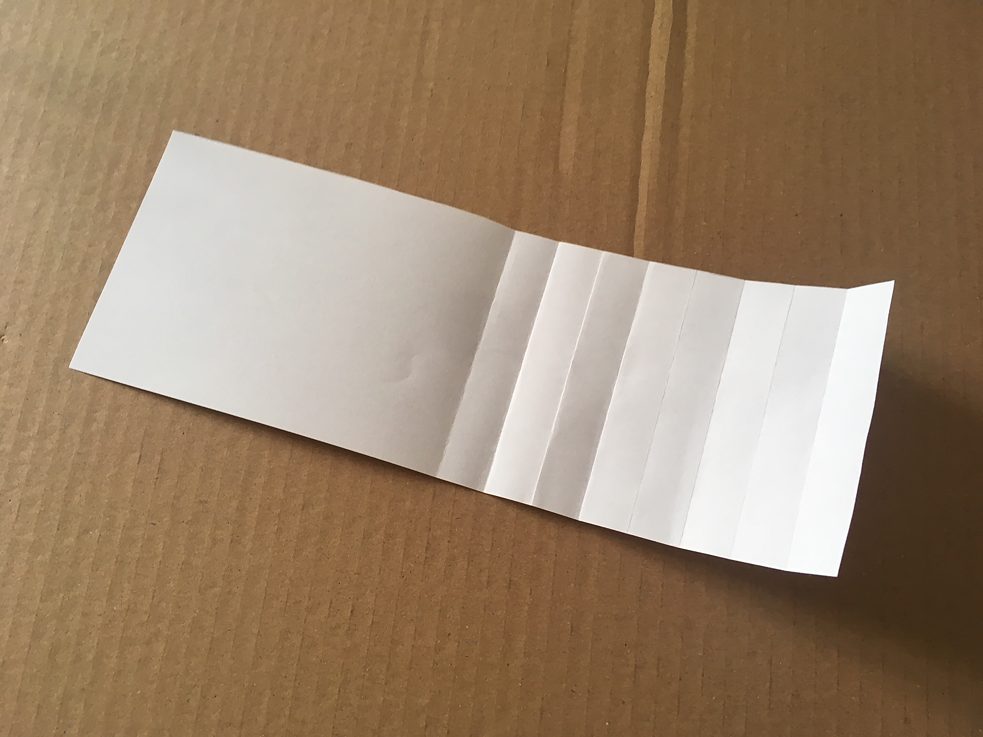
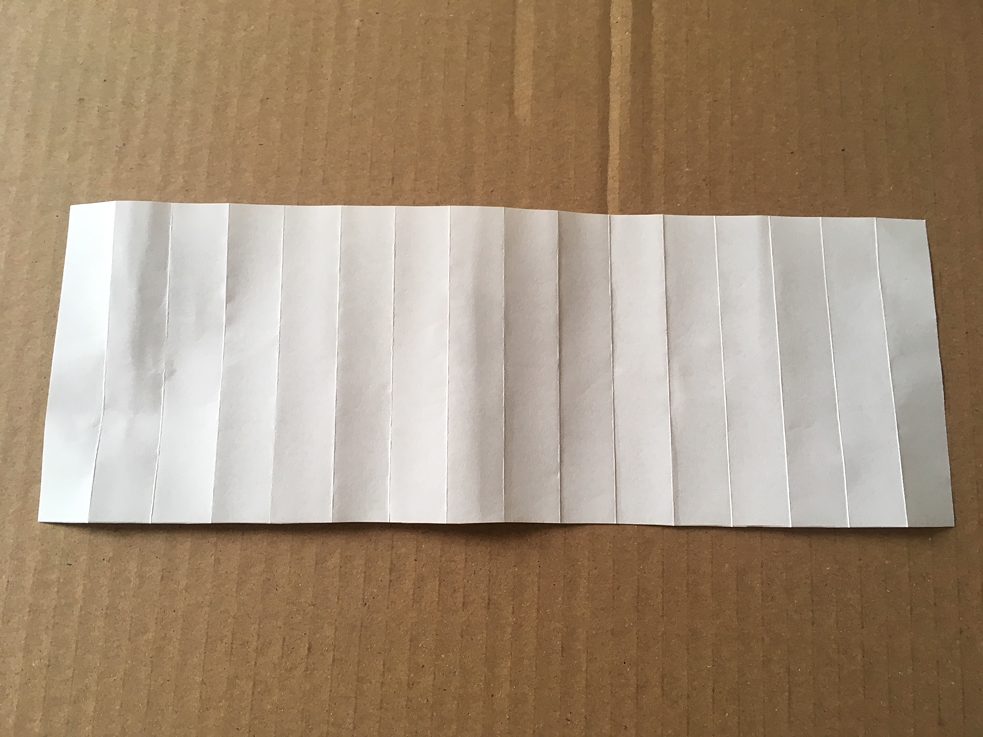
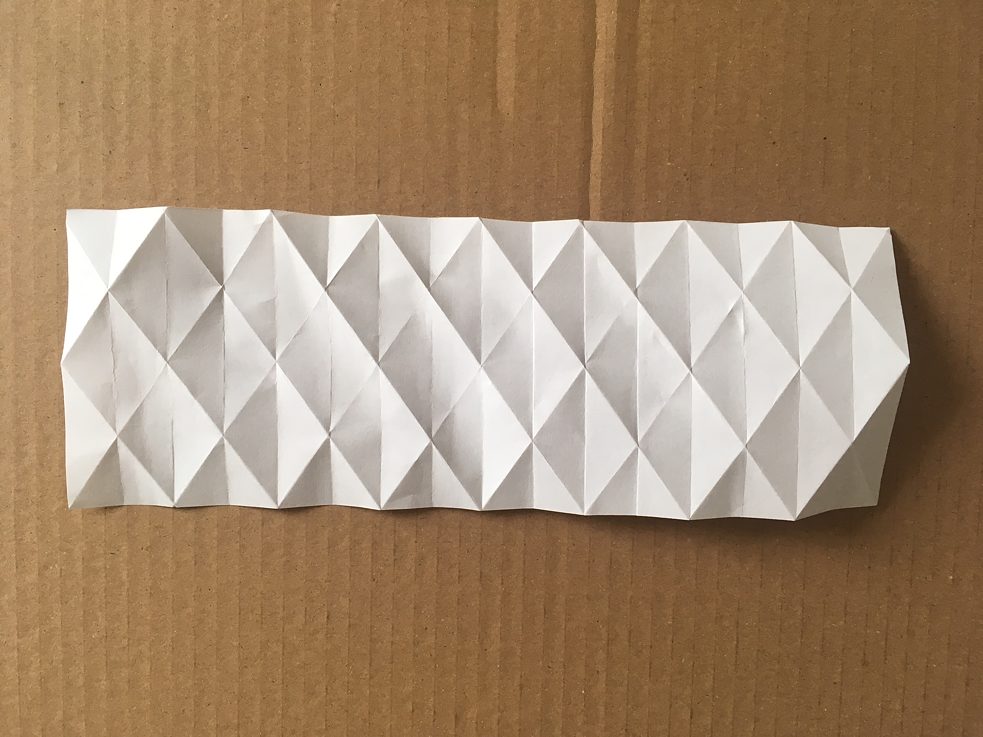
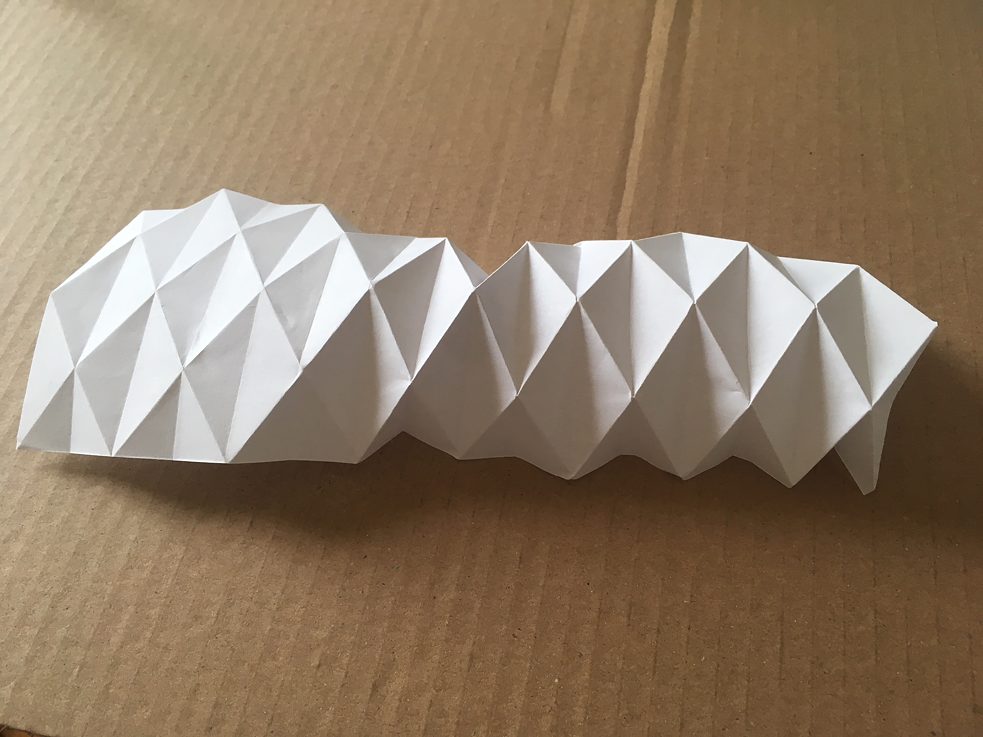
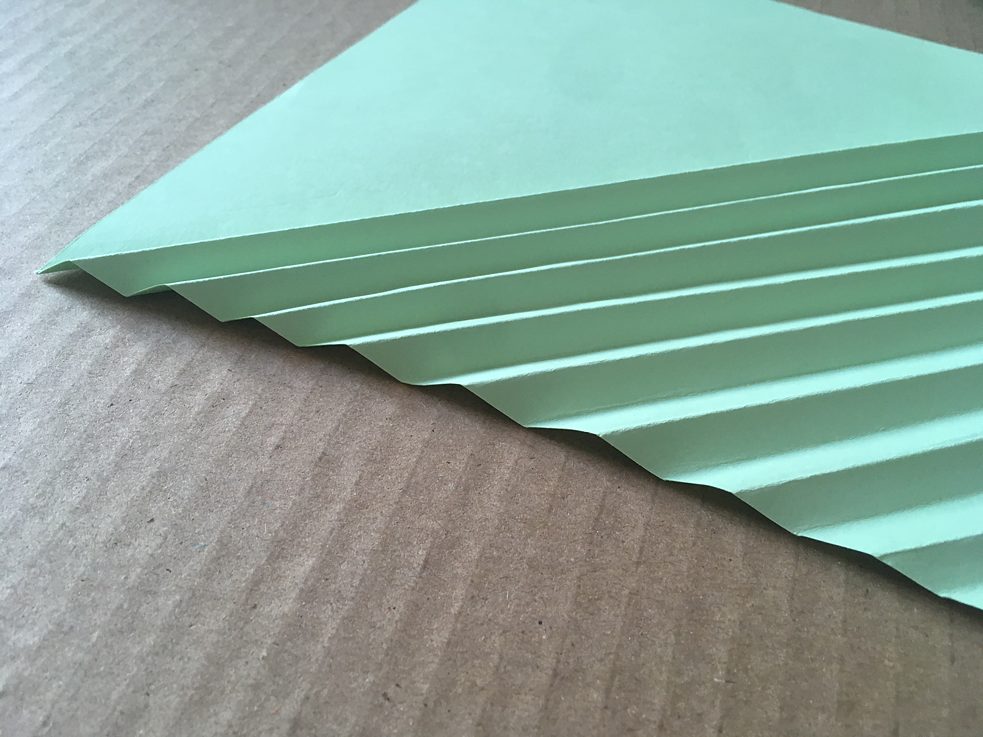
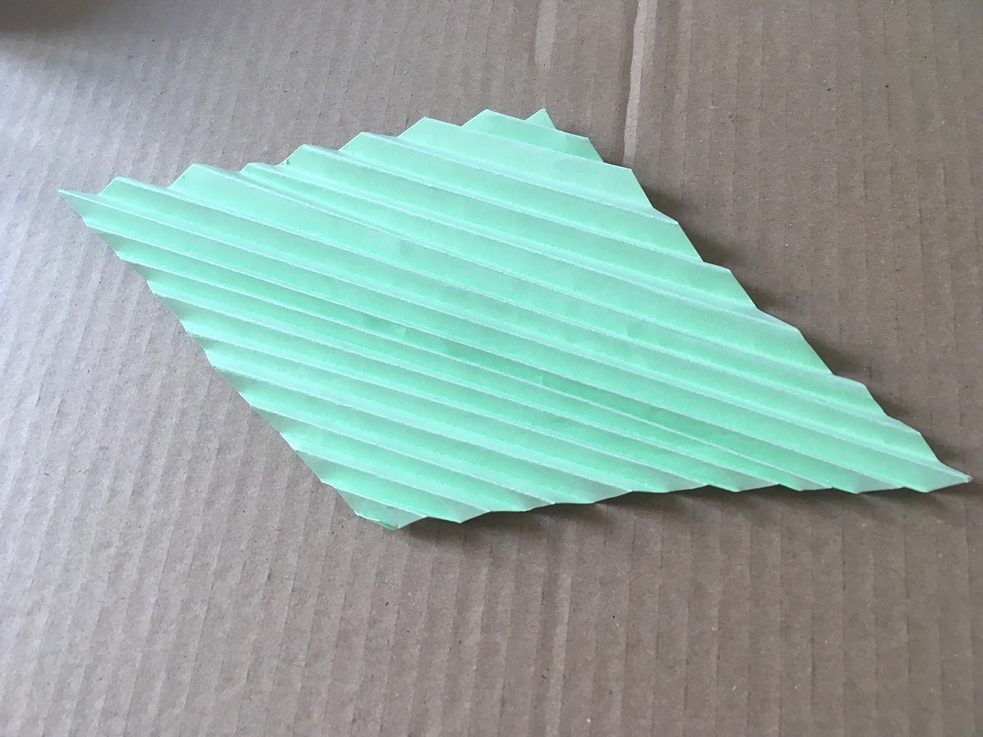
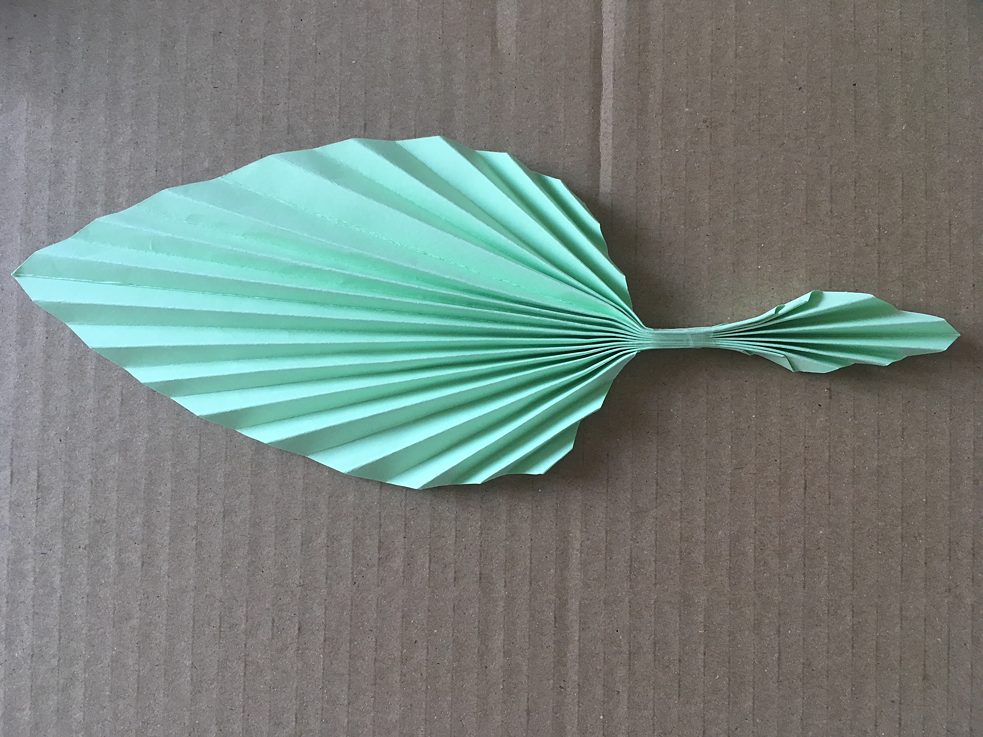
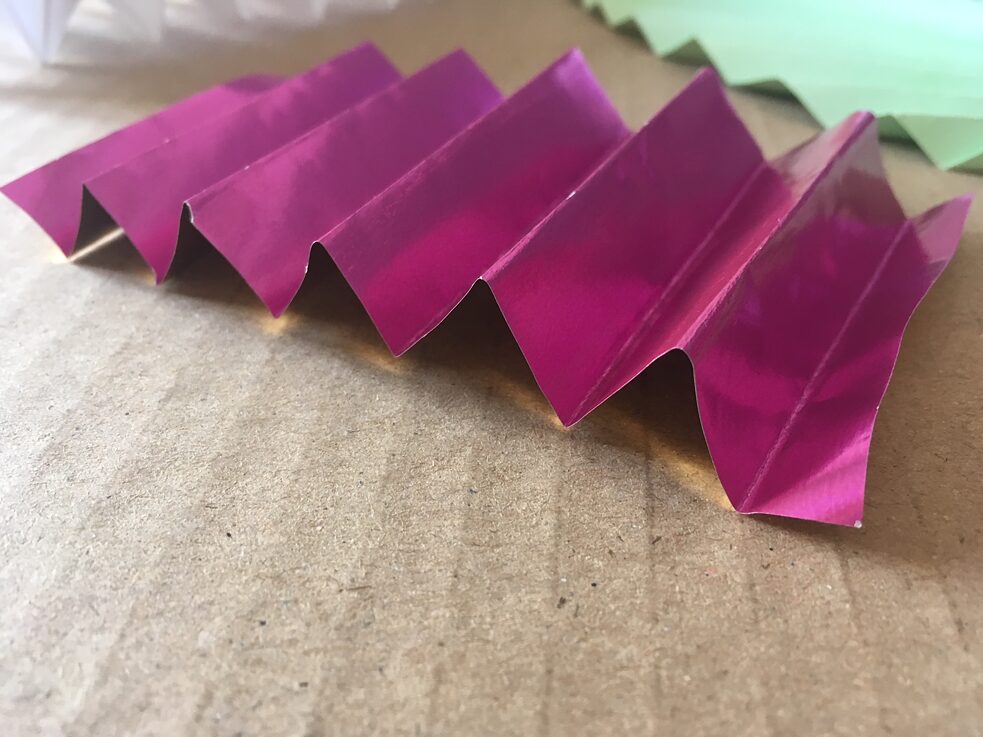
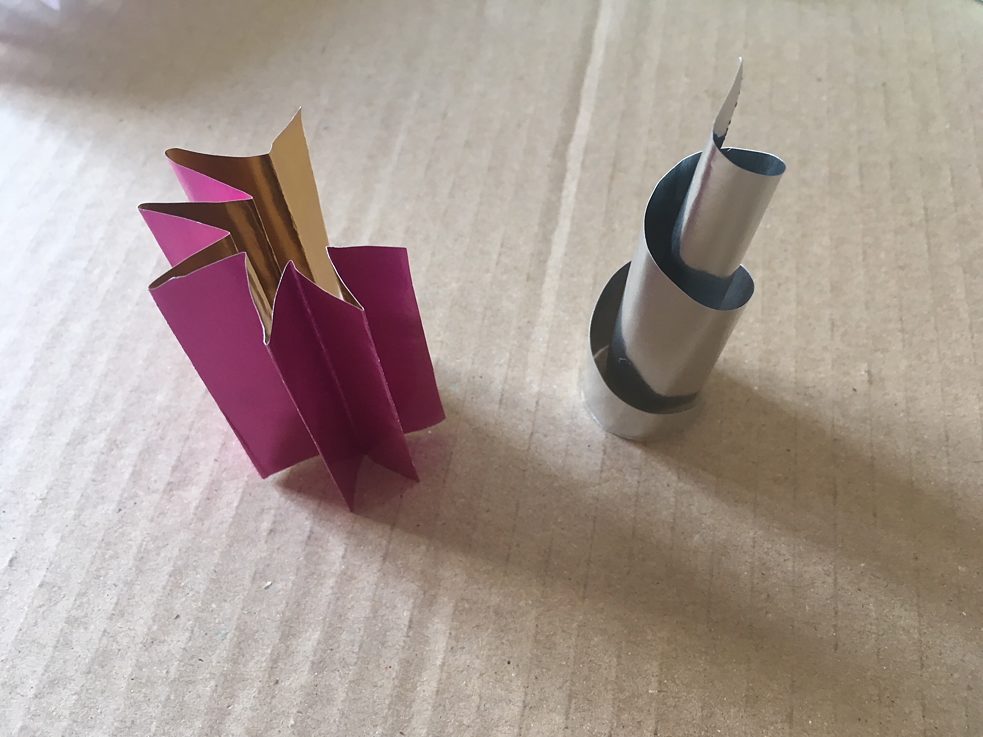
Step 2: Now the paper is folded according to the folding instructions (see PDF below). Participants may refer to the displayed examples. Depending on age and ability the resulting forms and structures may be simple or more complex. Note that this is a free exercise so the point is not to replicate a given form. Imagination is the order of the day!
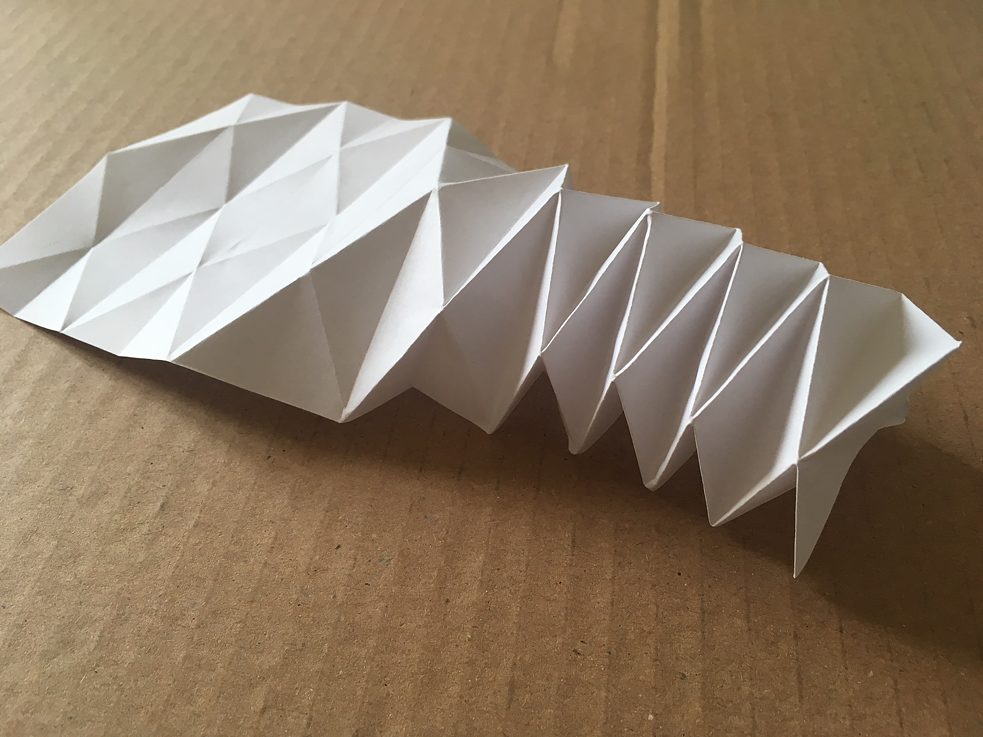
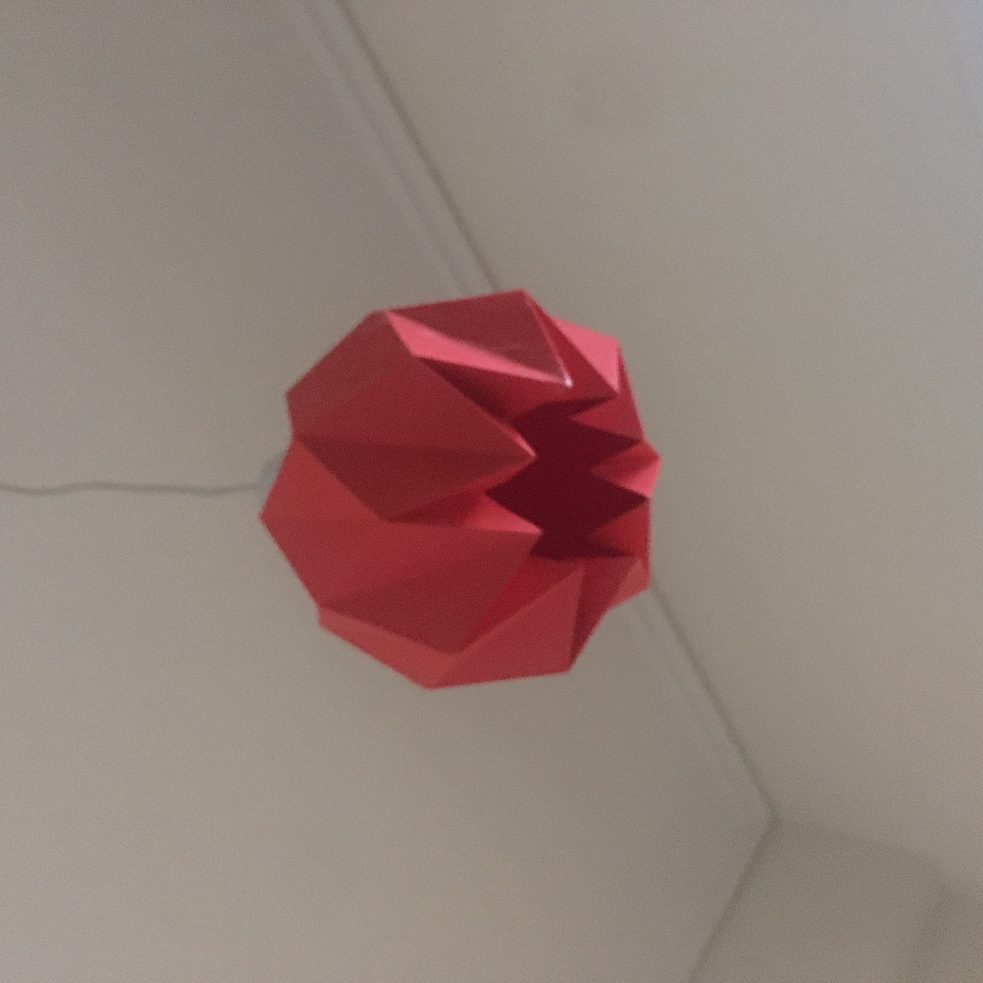
Step 3: Now the paper is examined again. The flat sheet has been turned into a structure or three-dimensional object. How stable is it now? How do light and shade affect the form? How do other types of paper or foil behave when folded? How could the object be expanded?
Step 4: Moving on to the other materials, participants are asked to close their eyes and feel small samples. How does the wool feel to the touch? And fabric? A piece of metal? What is soft, what feels cold? Which respond to pressure, and which do not?
Step 5: Now participants can use the different materials to make their own objects or collages. They should pay special attention to how the different materials and surfaces can be combined.
Step 6: When the objects are finished they are arranged in a display situation (plinth, table or shelf) and presented in the workshop space (for example in the library). This creates a little collection of “Bauhaus things” that can be expanded in further workshops.
Option: The forms from Module 1 and the sculptures from Module 2 could also be included in the collection of “Bauhaus things”.
Folding instructions
Use and remix

This work is licensed under a Creative Commons Attribution-NonCommercial-ShareAlike 4.0 International License.