These brief exercises serve to train the senses in perceiving space and surroundings. They are based on tasks from the Bauhaus preliminary course and the teaching in the workshops. They can be used as a module in their own right, or as a warm-up to begin a session.
EXERCISE 1: SEE, FEEL, DRAW
This partner exercise trains the sensory perception.
Step 1: Both partners have paper and pencil, partner 1 also has a clipboard.
Step 2: Partner 2 is shown photos of Bauhaus buildings, and chooses one to draw. The paper is placed on Partner 1’s back and attached with crepe masking tape. Partner 2 sketches the building onto the paper on partner 1’s back.
Step 3: Partner 1 “copies” the lines they feel on their back onto their own sheet of paper. Partner 1 should not look at the original but concentrate on feeling the lines being drawn.
Step 4: Finally the two drawings are compared. Can a resemblance be detected? Then the partners swap roles.
Option: This exercise can also be used on urban excursions in connection with prominent buildings.
EXERCISE 2: PERCEPTION OF BODY AND SPACE
This exercise concerns the perception of space through body and movement, and their transposition into lines, outlines and figures. This is a group exercise done in pairs.
Step 1: The participants begin by moving in space for a few minutes, making sure they use as much of the space as possible.
Step 2: Now large pieces of brown paper are laid out in the middle of the room, one piece per pair. Partner 1 lies on the paper in a chosen pose, partner 2 draws round their outline with a pencil.
Step 3: Now partner 1 moves to a new position, and again partner 2 draws round the outline. This is repeated several times, superimposing a series of outlines on the paper.
Step 4: Now the partners swap roles and repeat the exercise.
Step 5: Now the sheets of paper are hung on the walls. What impression do the outlines make? To they look like figures in motion? How do they relate to the space?
EXERCISE 3: LINES AND STRUCTURES WITH WOOL
This exercise is done in groups of five to ten participants. It concerns a comparison of two-dimensional and spatial structures.
Step 1: The participants form a circle. One participant is given a ball of wool and ties the loose end to their hand.
Step 2: Now the ball of wool is thrown to another participant, so that the thread of wool connects the two. The second person keeps a hold of the thread and throws the ball on.
Step 3: Once all the participants have received the ball of wool at least once, they stop and examine the structure they have created. What does the figure look like? Does it resemble anything?
Step 4: Now the participants lay wool structure on the floor and examine the form again. What has changed? Does the flat structure appear different from the spatial one?
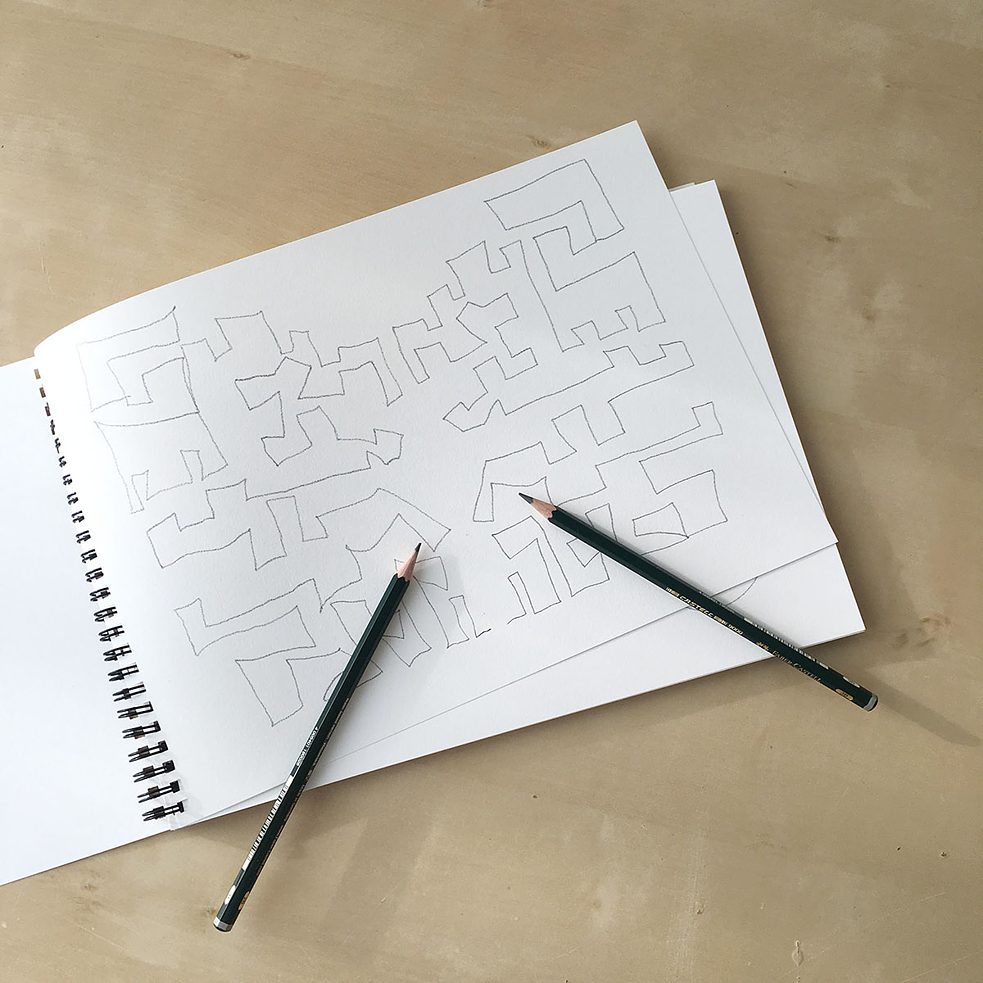
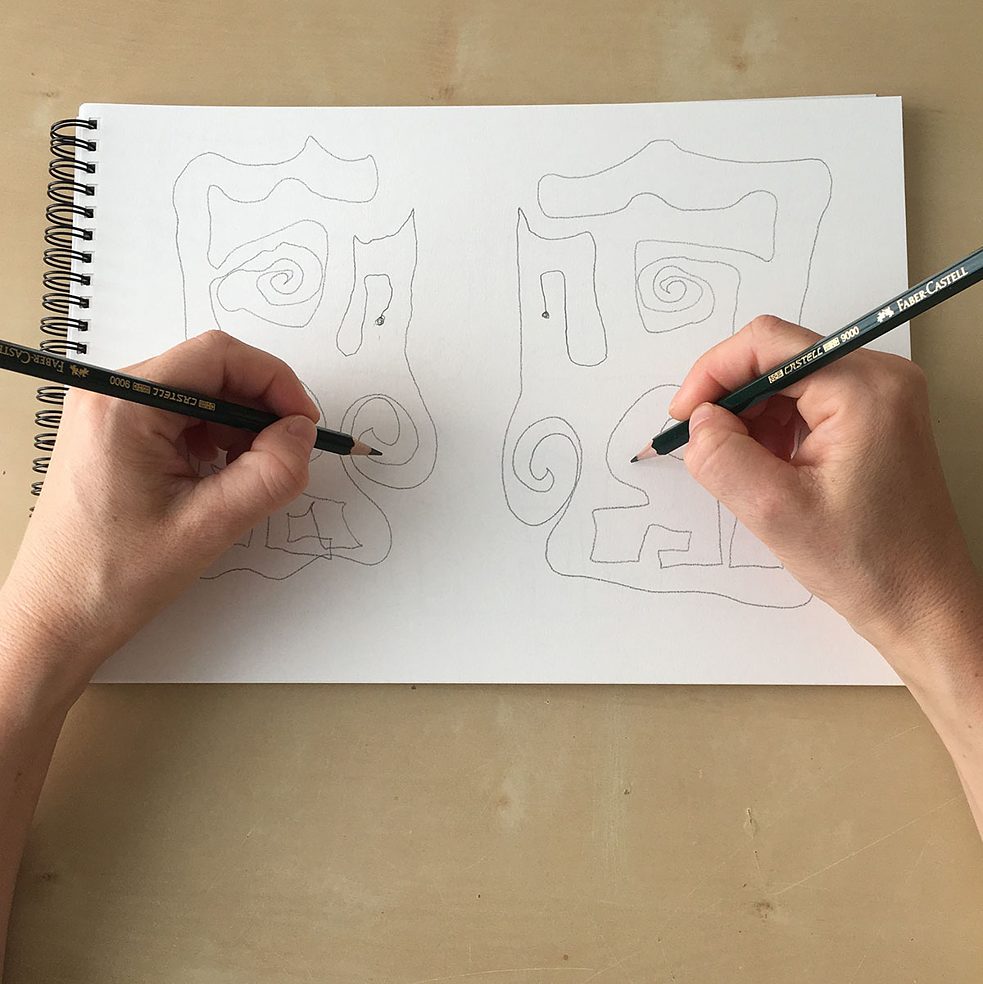
EXERCISE 4: DRAWING TWO-HANDED
This exercise involves drawing with both hands at the same time. The point is to playfully explore the act of drawing and to focus on the process rather than the result.
Step 1: Take a pencil in each hand and place both on the paper. Try to draw identical lines and patterns using synchronous movements.
Step 2: When everybody is ready, the group views the pictures. What kind of lines, shapes and patterns have been drawn? Are the results symmetrical? Which side is better? This exercise offers a nice surprise, when the participants discover that they really can draw with both hands.
EXERCISE 5: “A LINE IS A DOT THAT WENT FOR A WALK” – PAUL KLEE
This exercise trains the sensory perception and reduces inhibitions against expressing oneself artistically.
Step 1: The participants choose the finger paint colour they like best. Then they put a dot on their drawing paper and let their finger wander over the paper to create a line – as if the dot was “going for a walk”.
Step 2: Now they choose another colour and either continue the existing line or start a new one.
Step 3: When everybody is ready, the group views the pictures. What kind of lines, shapes and patterns
When he founded the Bauhaus in 1919, the architect Walter Gropius was seeking to bring together the arts and crafts. The goal was to train a new type of artist in the field of design and architecture to create products suitable for industrial mass production. The school set out to shape society as a whole by influencing the way people lived. Creating collective “comprehensive artworks” (Gesamtkunstwerke) was one important aspect. Interdisciplinarity and experimentation were also central to the educational concept.
Training at the Bauhaus began with a single-semester preliminary course, using new and experimental educational methods to impart knowledge of materials and basic design principles. The students developed spatial structures, concentrating on materials, construction, function and production. In order to explore perceptions of space and surroundings impartially, the preliminary course also trained the senses: sight, hearing, smell, taste and touch.
The Swiss painter and art teacher Johannes Itten designed the preliminary course at the Bauhaus in Weimar. Itten saw individual sensibility, subjective recognition and objective comprehension as the basis of creative design. His teaching as head of the preliminary course (1919–23) concentrated on studies of nature and materials, along with colour and form theory; analyses of the Old Masters and life drawing were also included. When Itten left the Bauhaus in 1923, László Moholy-Nagy took over the preliminary course, which he ran jointly with Josef Albers. Moholy-Nagy shifted the focus from artistic to technical questions, but retained Itten’s teaching methods, encouraging students to conduct their own material studies. Rather than promoting pure individuality, he sought to systematically introduce his students – in a synthesis of the senses – to basic technical principles such as statics, dynamics and equilibrium. In 1928 Josef Albers became official head of the preliminary course. He encouraged students to investigate the properties of materials like metal, wood and paper using simple tools, and also placed special weight on the effect and representation of light, shade and perspective.
PAUL KLEE
Paul Klee was called to the Staatliches Bauhaus in Weimar in 1920 by Walter Gropius. He was one of the most important visual artists of twentieth-century classical modernism. His diverse oeuvre is classified variously as Expressionism, Constructivism, Cubism, Primitivism and Surrealism. In 1921 Klee became head of the bookbinding workshop, in 1922 head of the metal workshop and from 1922–23 to 1925 head of the glass painting workshop. He taught his elemental design theory in the preliminary course, both in Weimar and in Dessau. Klee’s Pedagogical Sketchbook was published in 1925 as the second volume of the series of Bauhaus Books. From 1926–27 to 1930 he was in charge of teaching of free sculptural and artistic design, from 1927 he headed the free painting workshop. From 1927 to 1929–30 he taught theory of design in the weaving workshop. Klee left the Bauhaus on 1 April 1931 to take up a professorship at the Düsseldorf Art Academy. He was dismissed immediately after the Nazis came to power.
OSKAR SCHLEMMER
In his work as painter, sculptor and stage designer, Oskar Schlemmer was especially interested in the human figure in space. His most creative period (1920–1932) produced numerous paintings of stereometric figures and interlocking groups. In 1920 he produced the first figurines for the Triadic Ballet, which premiered in 1922 in Stuttgart. In January 1921 Schlemmer was one of the first masters called to the Staatliches Bauhaus in Weimar by Walter Gropius. Initially he headed the wall-painting workshop as master of form and taught life drawing. From 1922 to 1923 he headed – as master of form – the stone sculpture workshop, the wooden sculpture workshop and for a time the metal workshop. For the 1923 Bauhaus exhibition in Weimar, Schlemmer created many works in the fields of wall painting, painting, sculpture, printing, advertising and stage design. From 1923 to 1929 he was head of the stage workshop at Weimar and Dessau. From 1926 there was a revival of the Triadic Ballet with organ music by Hindemith in several German cities. The performances made Schlemmer internationally famous, and invitations to work on ballets in Paris and New York followed. From April 1928 Schlemmer took on extensive teaching duties at the Bauhaus. Alongside his drawing lessons and stage theory, Schlemmer established a teaching subject called “The Human”, which explored artistic, biological and philosophical issues. In 1928–29 the Bauhaus stage toured Germany under Schlemmer. Schlemmer left the Bauhaus in summer 1929 and was appointed in June to the Staatliche Akademie für Kunst und Kunstgewerbe Breslau, where he taught until it closed in 1932.
LÁSZLÓ MOHOLY-NAGY
As well as non-representational painting, László Moholy-Nagy’s oeuvre comprises photography, film, typography and stage design. His work as a graphic designer was strongly influenced by the De Stijl movement, Constructivism and Dada. He was one of the most influential photogram artists of the 1920s and coined the concept of photo-sculpture. His Telephone Pictures of the 1920s can be interpreted as early examples of conceptual and media art. In 1923 he was called to the Bauhaus by Walter Gropius, where he concerned himself primarily with experimental photography, film and typography. From 1923 to 1925 he led the preliminary course and the metal workshop in Weimar, from 1925 to 1928 in Dessau. Together with Walter Gropius, Moholy-Nagy published the first series of Bauhaus Books. In 1928 Moholy-Nagy left the Bauhaus and founded his own studio for typography and exhibition design, photomontage and photocollage in Berlin. After he was banned from working by the Nazis he emigrated in 1934 first to Amsterdam, then England (1935–1937) and later the United States, where he founded and headed the New Bauhaus in Chicago and – following its closure in 1938/39 – its successor the School of Design.
 Silke Wittig | CC BY-NC-SA 4.0
YOU WILL NEED:
Silke Wittig | CC BY-NC-SA 4.0
YOU WILL NEED: